概要
- Bubble の API Connector から呼び出す先のAPIを作成する
- サンプルとして、名前と回数を受け取り、挨拶を返すAPIを作成する
- Bubbleからのパラメタは
queryStringParametersに入る - AWSを使う
- Lambdaを使うと、サーバのことを考えずにコードを実行できる
- API Gatewayを使うと、APIの構築、デプロイ、管理ができる。URLを割り当ててくれる。
- (本番運用の際はセキュリティを考慮する)
Lambda関数の作成(Python)
関数の作成
- Lambdaの画面を開く
- 「関数の作成」ー「一から作成」
- 以下で作成
- 名前: greeting
- ランタイム: Python 3.8

- 関数コードを以下で作成 (lambda_function.py)
import json

def lambda_handler(event, context):
    if not 'queryStringParameters' in event:
        return {
            'statusCode': 200,
            'body': json.dumps({'description': 'no query found.'})
        }

    query = event['queryStringParameters']
    name = query['name']
    count = query['count']
    description = f'{name} say hello {count} times.'
    greeting = name + ': ' + 'hello ' * int(count)

    return {
        'statusCode': 200,
        'body': json.dumps({
            'description': description,
            'greeting': greeting,
        })
    }
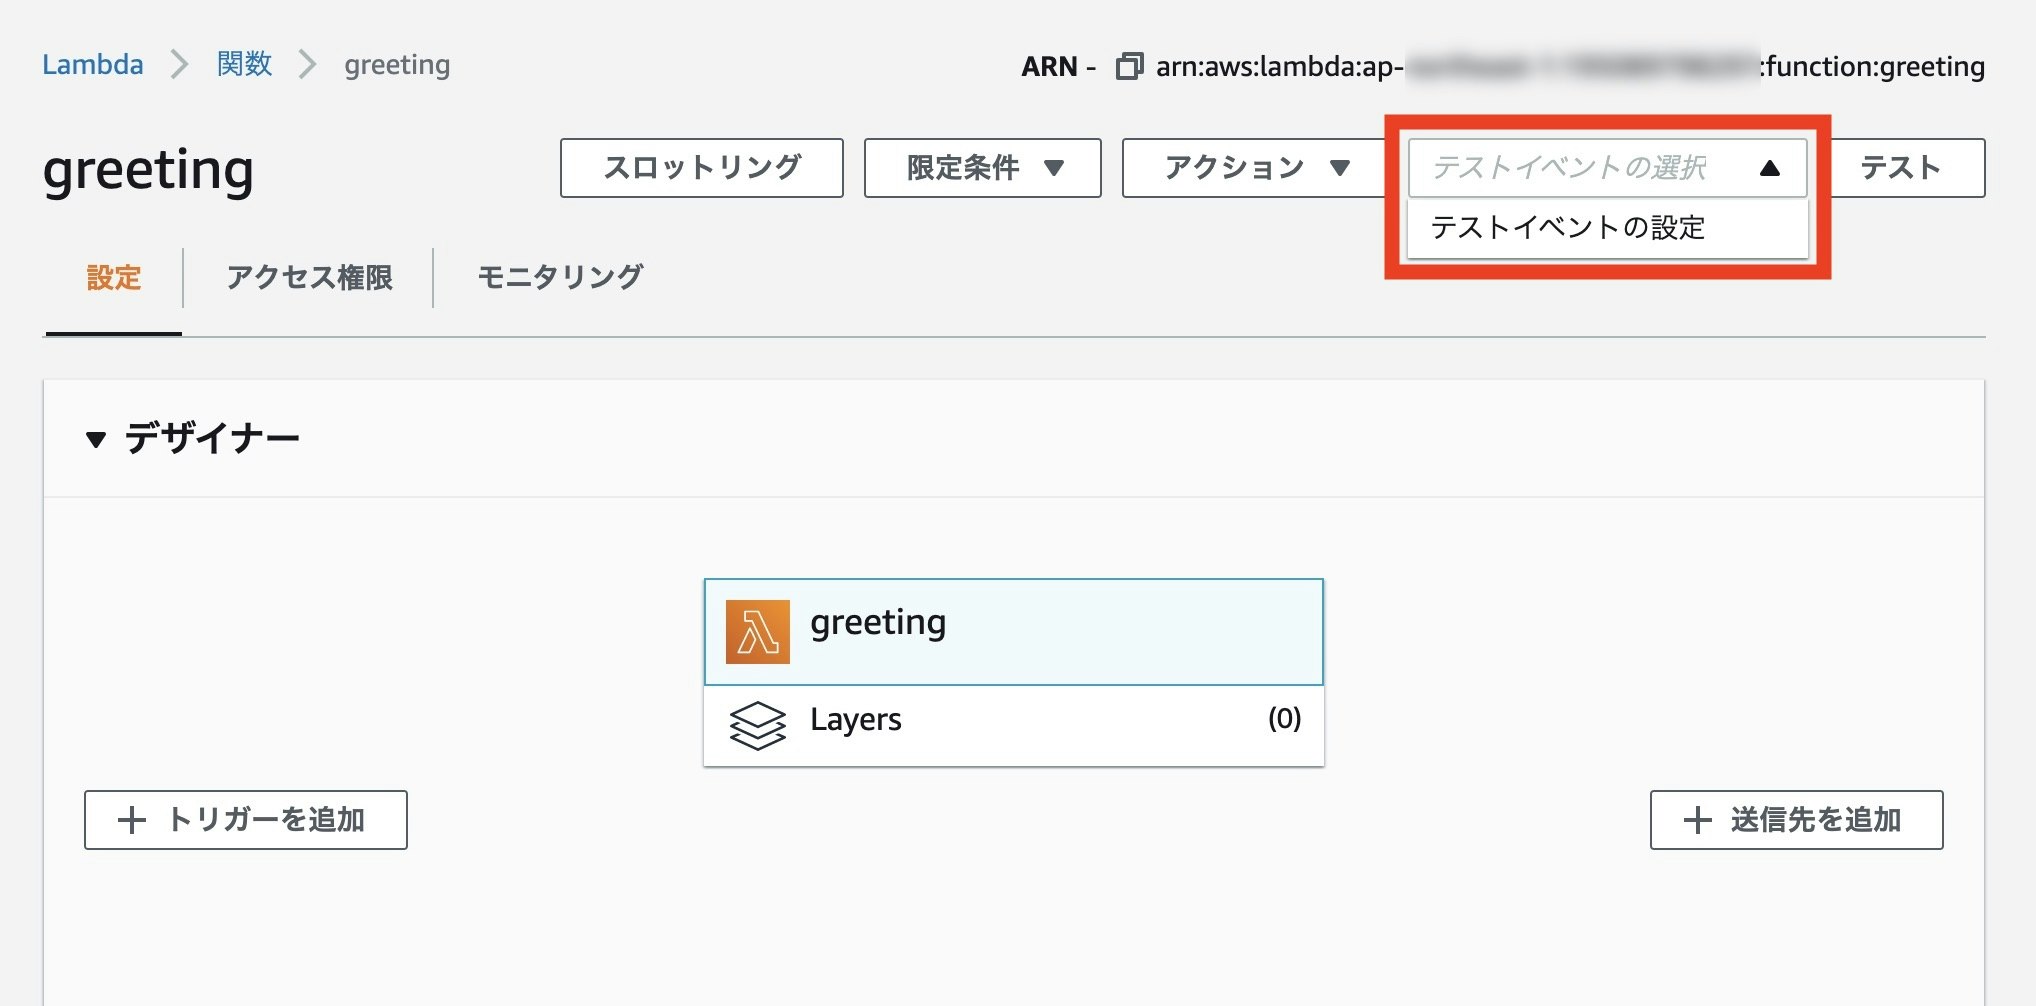
テストイベントの追加とテスト
- 右上の「テスト」の左にある欄をクリックし、「テストイベントの設定」
- テストイベントを以下で作成
- 新しいテストイベントの作成
- イベントテンプレート: hello-world
- 名前:greetingTest01
- jsonは以下の通り
{
  "queryStringParameters": {
    "name": "jansnap",
    "count": "3"
  }
}


- 「テスト」をクリックして、テストを実施
statusCodeに200(OK)が返ってくることbodyに想定通りの文字列が返ってくること 
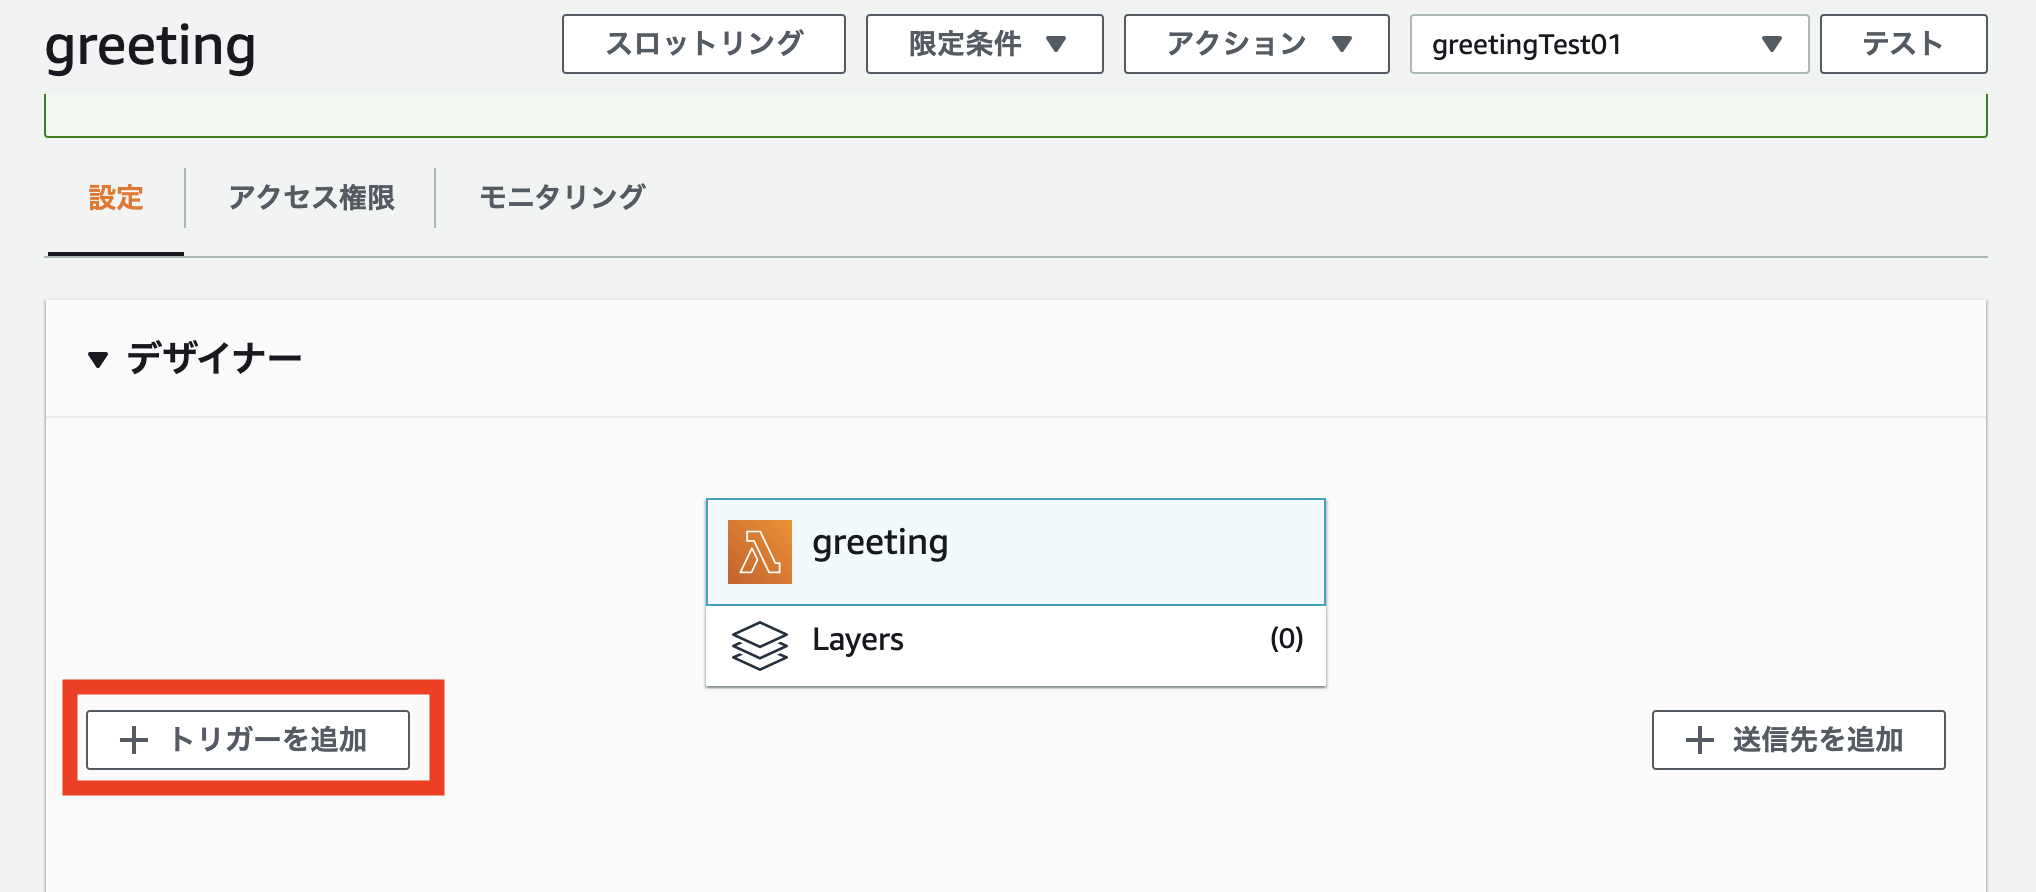
API Gateway の設定
トリガの設定
- 下の方のデザイナの欄で、「トリガーを追加」をクリック
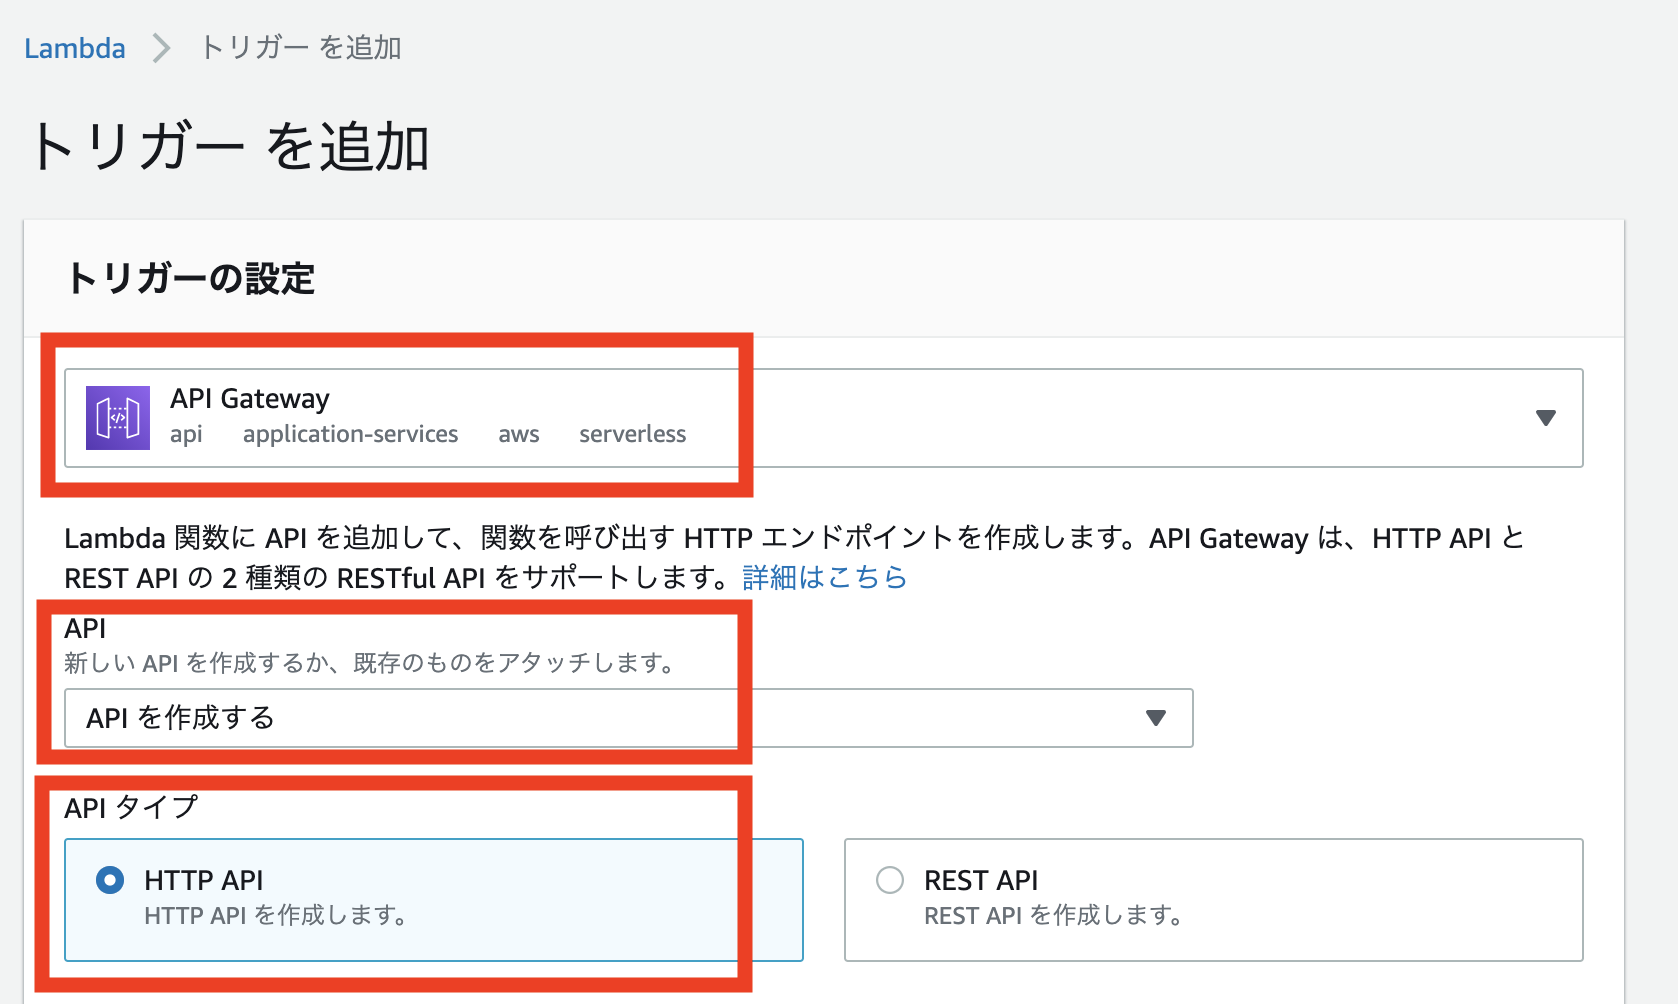
- 以下で設定
- トリガーを選択: API Gateway
- API: APIを作成する
- APIタイプ: HTTP API
- セキュリティ: オープン
- API名: greeting-API
- デプロイされるステージ: default


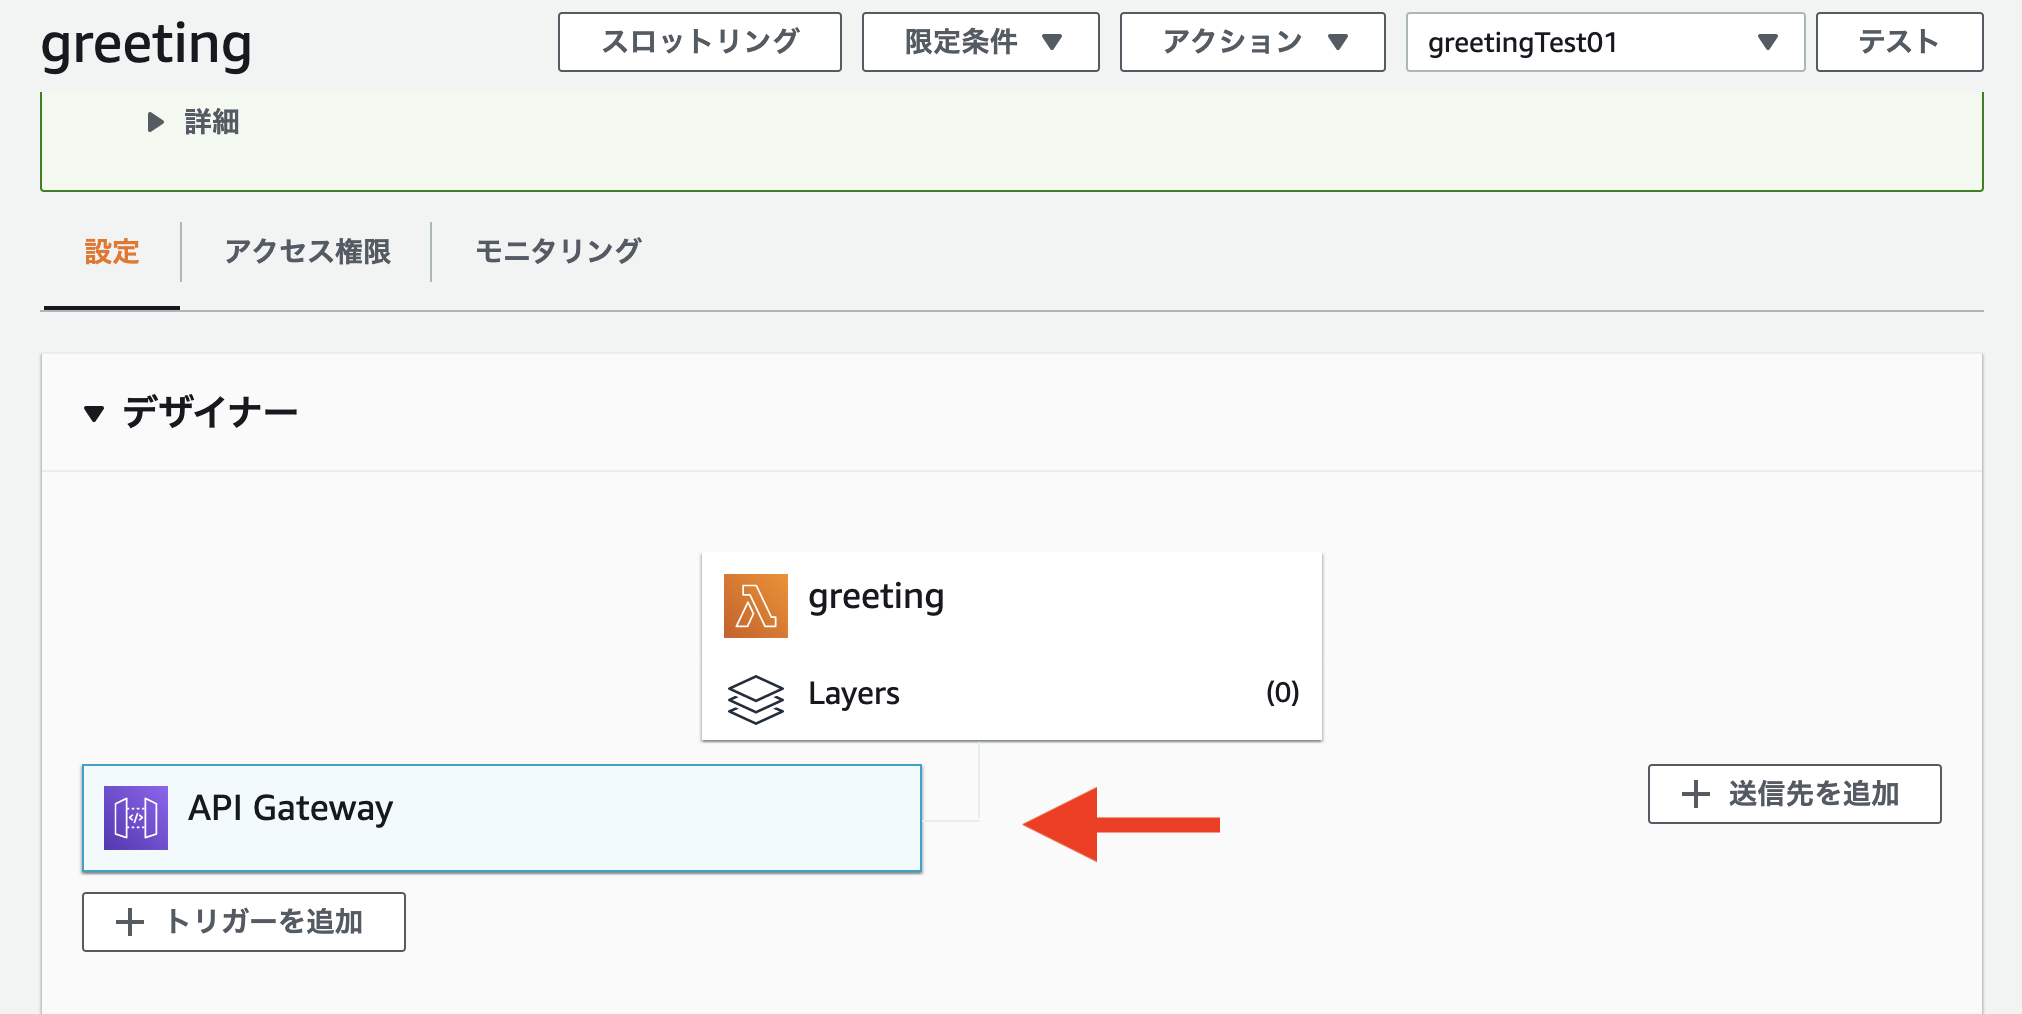
- デザイナ画面に戻り、API Gatewayが追加されているのを確認する
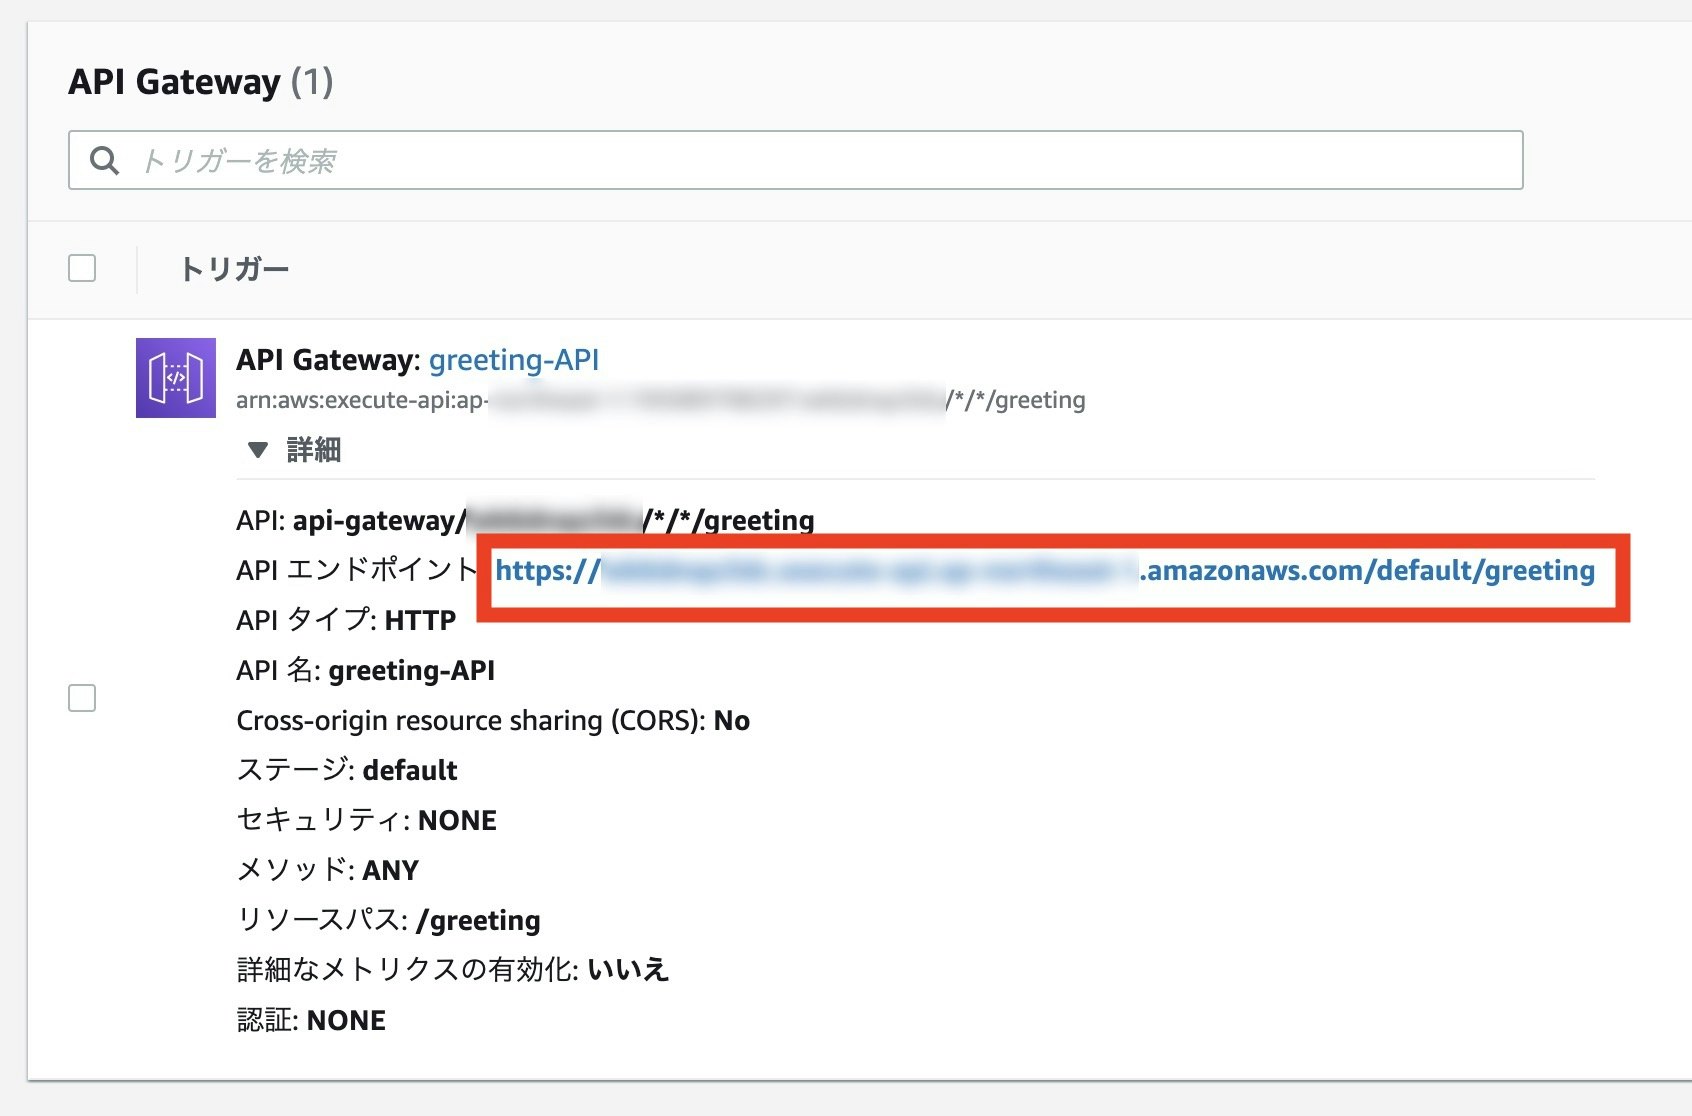
API Gateway のURLの確認
- 下にスクロールして、API Gatewayをクリックし、「APIエンドポイント」のURLをコピーしておく(Bubbleで呼び出す際に使う)
続いて、APIを呼び出す設定をBubble側で行います。
参考URL